The stand
Many people prefer different types of stands to hold their portraits up, and there are a few different ways in which you can do so. You can create a box like shape and place the sculpture flat on the base, you can build into the sculpture itself and create a square base from the shoulders or the neck of the figure, you can also use poles to stand the portrait up, in fact many people use a different material to make the base for their sculpture, including wood, stone and metal. However during the course we were taught how to make different bases using clay.
Here are some photos showing the different types of bases you can use.


Many people in the class chose different methods to create their stand; I chose to create a clay box and include a metal pole to raise the head slightly. I chose this method because I thought that it would make the sculpture look more independent and focus the attention more towards the head rather than to the stand.
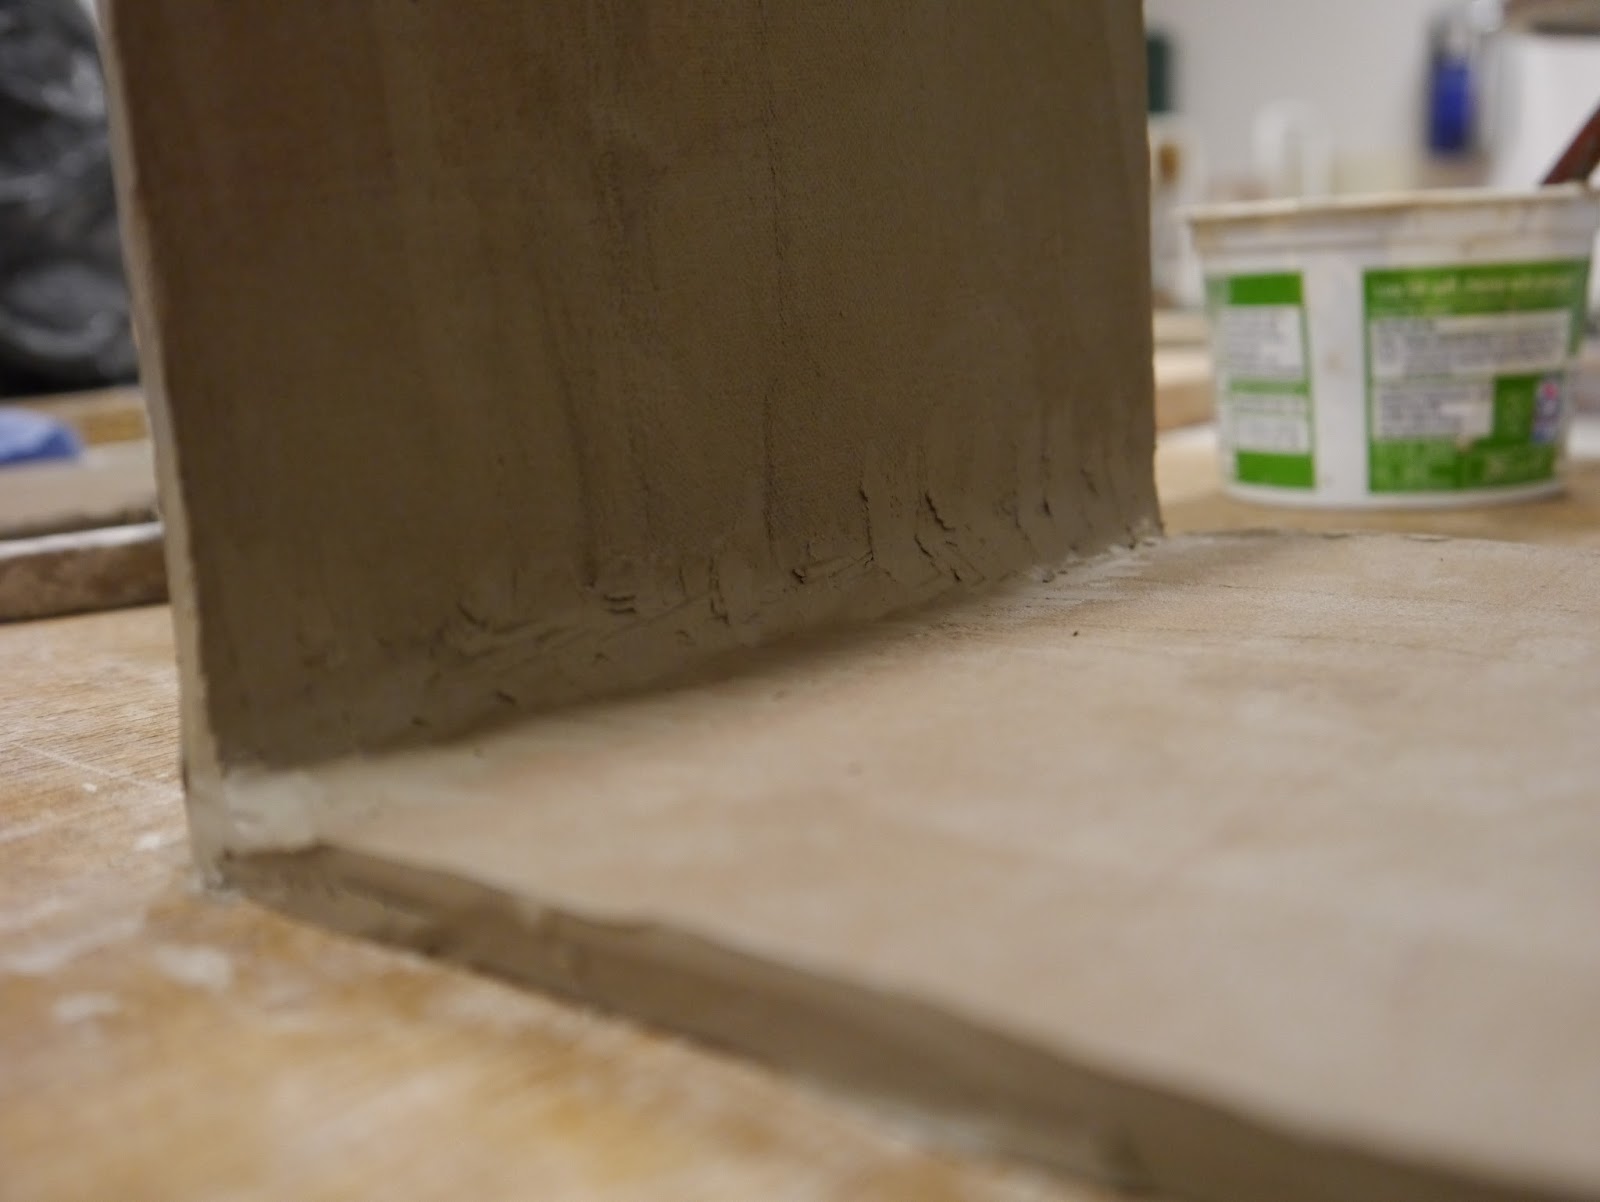
During the demonstration on how to begin our stands, I learnt that the box would in fact be hollow instead of being a solid block of clay. You start off by rolling out the clay into large slabs, there are two ways that you can carry out this process, the first is using large polling pins and rolling out the clay yourself, the second is using the slab roller. Many people use rolling pins because they are far cheaper and take up much less room than a slab roller, however slab rollers come in very useful when using large quantities of clay. I chose to roll out my clay using the slab roller because I wanted to make enough slabs quickly and easily in case I needed to start again.
Here is a picture of what the rolled out slab of clay looked like.
You can make your box into whatever shape or size you like. Taking into account the size and weight of your sculpture, your box needs to be big enough to support the head.
I chose to make my box into a symmetrical cube so that my sculpture would be evenly supported.
There is no specific way to cut out the sides of your box, many people cut the sides out from observation and trim them down once they are stuck down, whereas some people measure the sides out with a ruler to be safe.
I started off with cutting out a base for the bottom of the box and then five more sides to complete the box.
It's easer to create the box when the clay has hardened, this way when you place a side onto the base of the box, the side is less likely to fall over. To make sure your clay is dry enough you usually leave the large slab of clay to dry out slightly over night.
To attach each side to the base of the box you start by cross hatching the edges to each individual piece, including the bottom piece. This creates more friction between the two edges, you also have to use a lot of slip on each edge. Once the side is stuck down to the base of the box you roll out small thin coils and place them along each seam, on the inside and the outside to make them more secure.
Continue this for each side of the box until you have a completed box shape. Once I had completed the box I then used a scraper to smooth down all the sides and neaten up the appearance of the box.
Because I wanted to include a metal pole through the centre of my box I found a small circular object and drew around it at the centre point of my stand and used a knife to cut out the circle, this left a hole in the centre of the box, so that I could put a metal pole through to elevate the head from the box. However this process would have to be done after the box and the head had been fired.
I found this process one of the easer things to do throughout the course and that it didn't take me much time to complete at all even though this is actually one aspect that I enjoyed, I liked the simplicity of making the stand and felt a sense of satisfaction from making a perfectly square cube.